The frame is free and open source. The STL and STEP files and the CadQuery code that makes them are on GitHub under the CERN-OHL-S v2 licence.
Get the files on GitHubTo build a DIY EEG headset, you print a frame that holds the electrodes at fixed positions on the head, put dry electrodes in it, and connect them to an EEG amplifier board. This open frame holds 16 OpenBCI dry comb electrodes at the 10-20 positions Fp1 to O2 and carries an OpenBCI Cyton board with the Daisy module, the 16 channel version, in a pod at the back. It comes in three sizes, S, M and L.
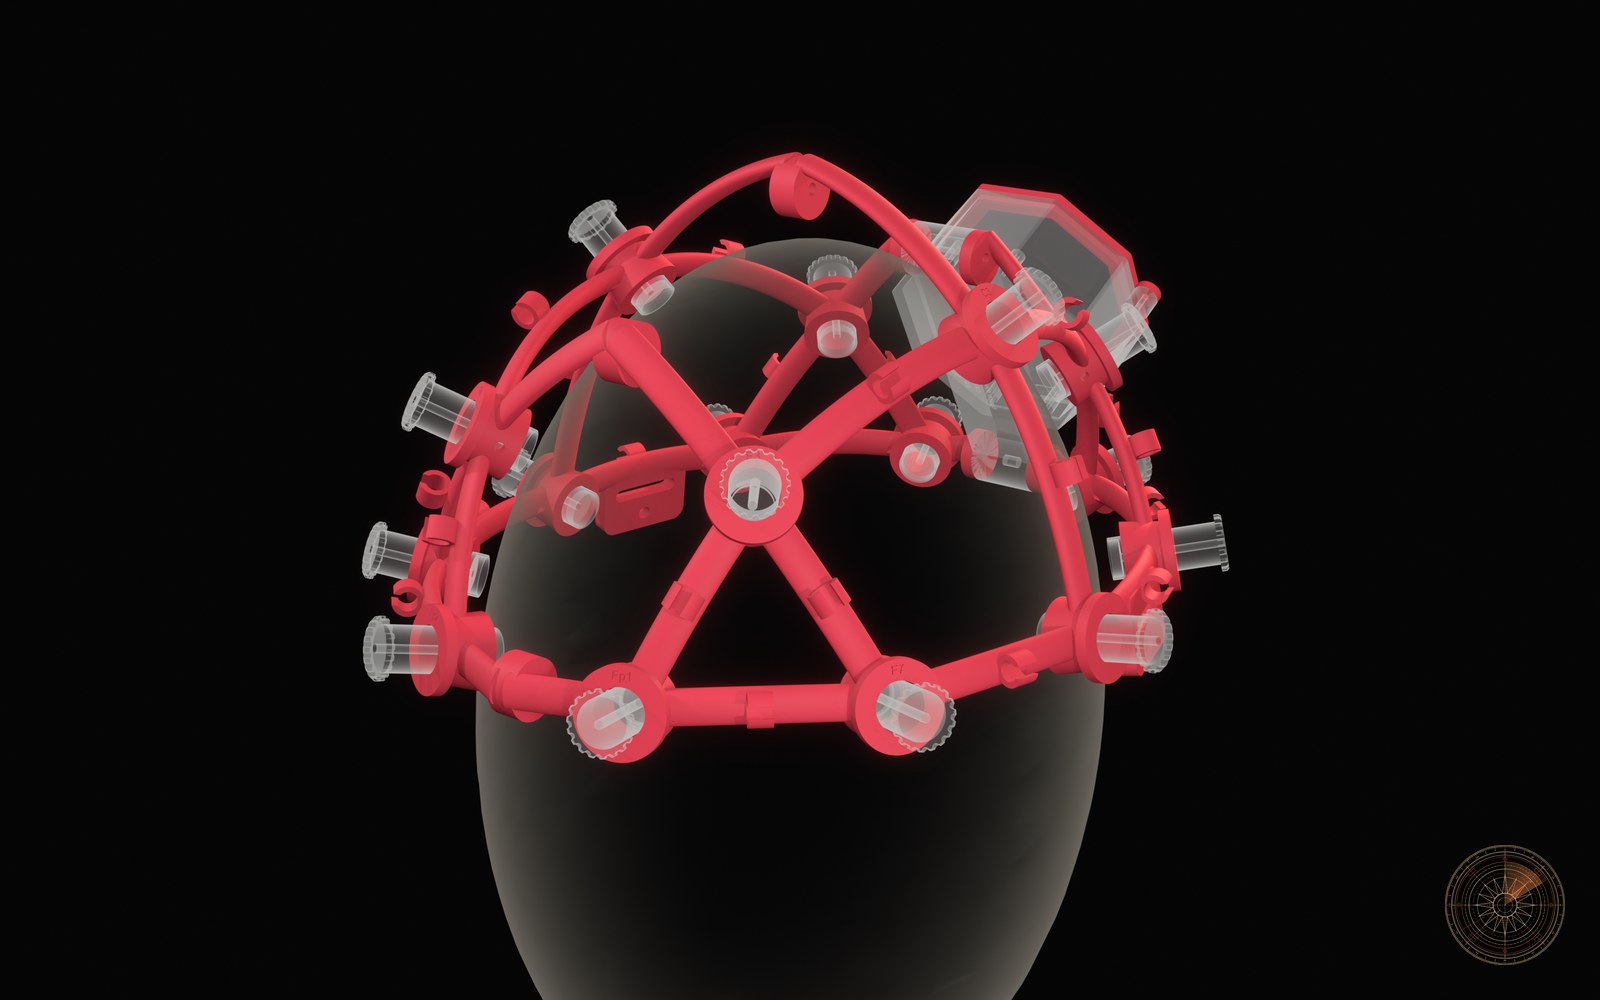
The frame is not printed yet. Nobody has worn it and no EEG signal has been recorded with it. The parts were checked in CAD against a head model, a board model and a battery model. The test state below lists what is checked and what is open.
The three OpenBCI items below are the electronics. The frame does not include them. Prices and stock are as the OpenBCI shop showed them on 19 November 2026. OpenBCI is not an affiliate partner of this site, so these are plain links.
Electrodes are sold separately. Battery power only, never mains. Not a medical device.
Recording only. Not a medical device.
Recording only. Not a medical device.
| Item | Quantity | Note |
|---|---|---|
| OpenBCI Cyton + Daisy | 1 | Includes the USB dongle, a lithium battery and a charger |
| OpenBCI 5 mm dry comb electrodes | 16 | Sold as a pack of 30 |
| OpenBCI earclip electrodes | 1 pair | Reference (SRB) and bias |
| Printed frame | 1 set | 2 halves, 1 spine with the pod, 1 cover, 16 carriers |
| M3 bolts and nuts | 3 x 12 mm, 2 x 35 mm | Midline joints |
| M3 self-tapping screws, 8 mm | 16 | Lock each carrier in its hub |
| M1.6 self-tapping screws, 6 mm | 4 | Board posts |
| M2 self-tapping screws, 8 mm | 2 | Pod cover |
| Elastic strap, 20 mm wide | 1 | Around the back of the head |
The OpenBCI items cost 2,608.98 US dollars together on that day. All three were sold out.
A ready made EEG headband records your brain rhythms with no printing and no wiring, at about a tenth of the cost. It has 4 dry channels in place of 16, at the forehead and behind the ears (AF7, AF8, TP9 and TP10, positions of the 10-10 system). It has no electrodes at O1 and O2 over the back of the head, where the alpha rhythm is strongest. The Muse links below are affiliate links, so this site earns a commission on a purchase at no extra cost to you, and the code THECONSCIOUSNESSAI saves 15 percent at Muse.
Records only, with no stimulation feature. Muse calls it a general wellness product, not a medical device. The code THECONSCIOUSNESSAI saves 15 percent at Muse.
Not only a recorder. Its Deep Sleep Boost feature plays pink-noise sound cues through your headphones during deep sleep. No electrical current. Muse calls it a general wellness product, not a medical device. The code THECONSCIOUSNESSAI saves 15 percent at Muse.
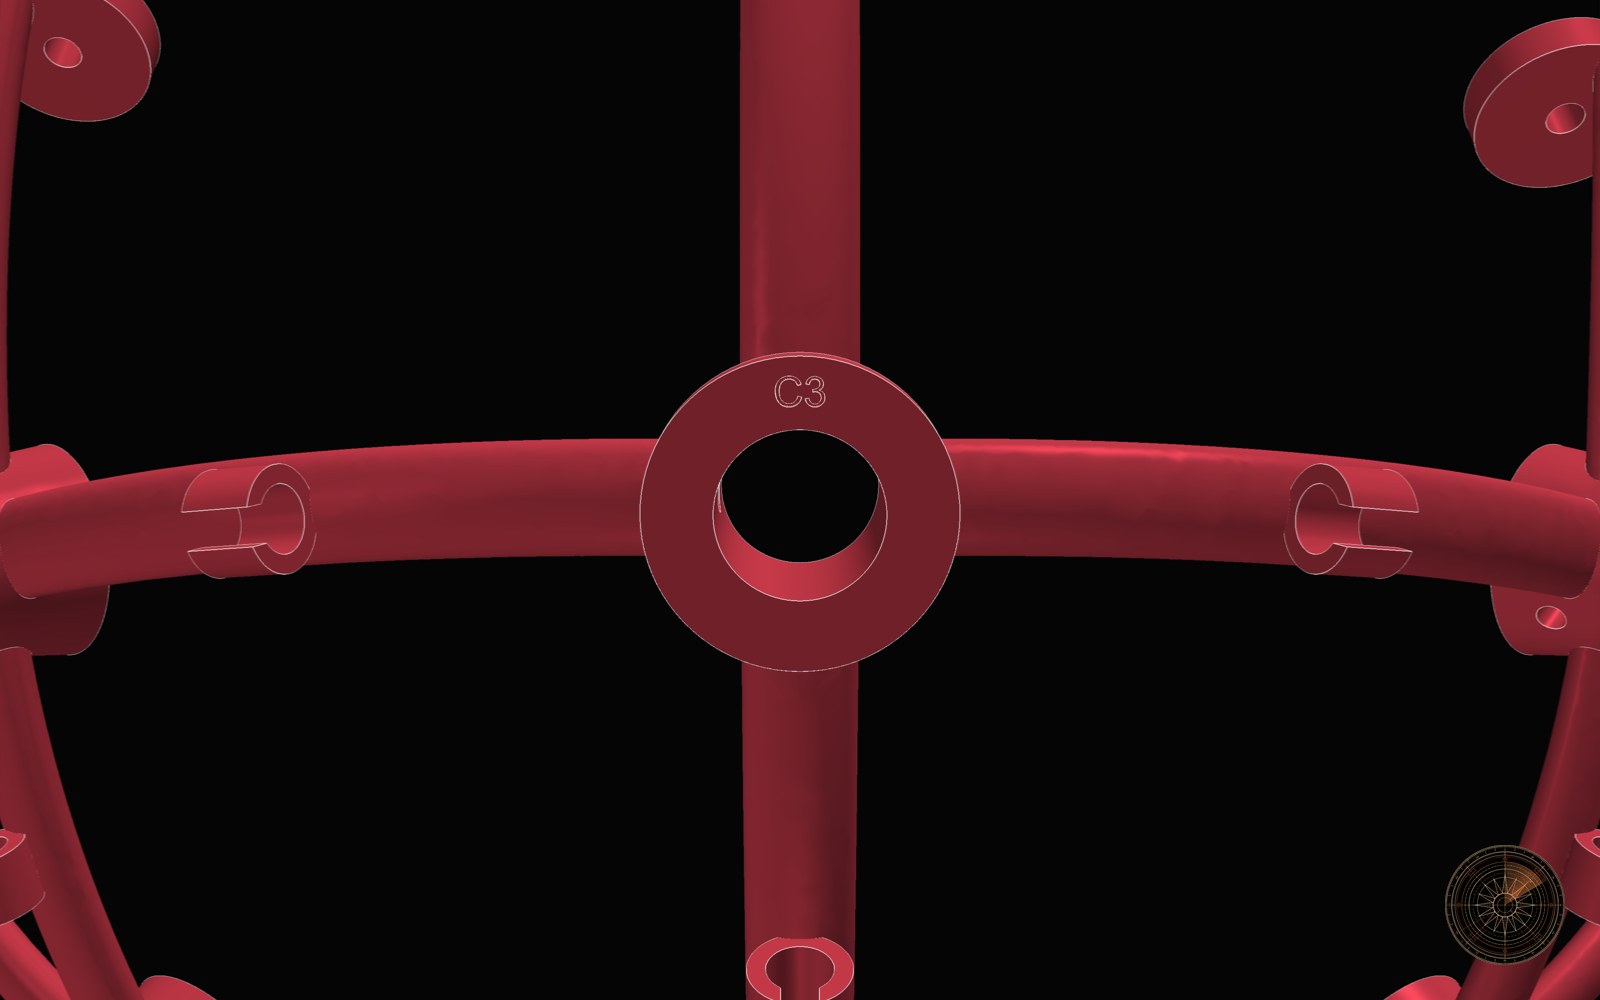
The electrode positions follow the international 10-20 system, the standard map for scalp EEG. The 16 positions are Fp1, Fp2, F3, F4, F7, F8, C3, C4, T7, T8, P3, P4, P7, P8, O1 and O2, which are the 16 channels of the Cyton with the Daisy. The guide to EEG electrode placement and the 10-20 system explains how the positions are measured on a head.
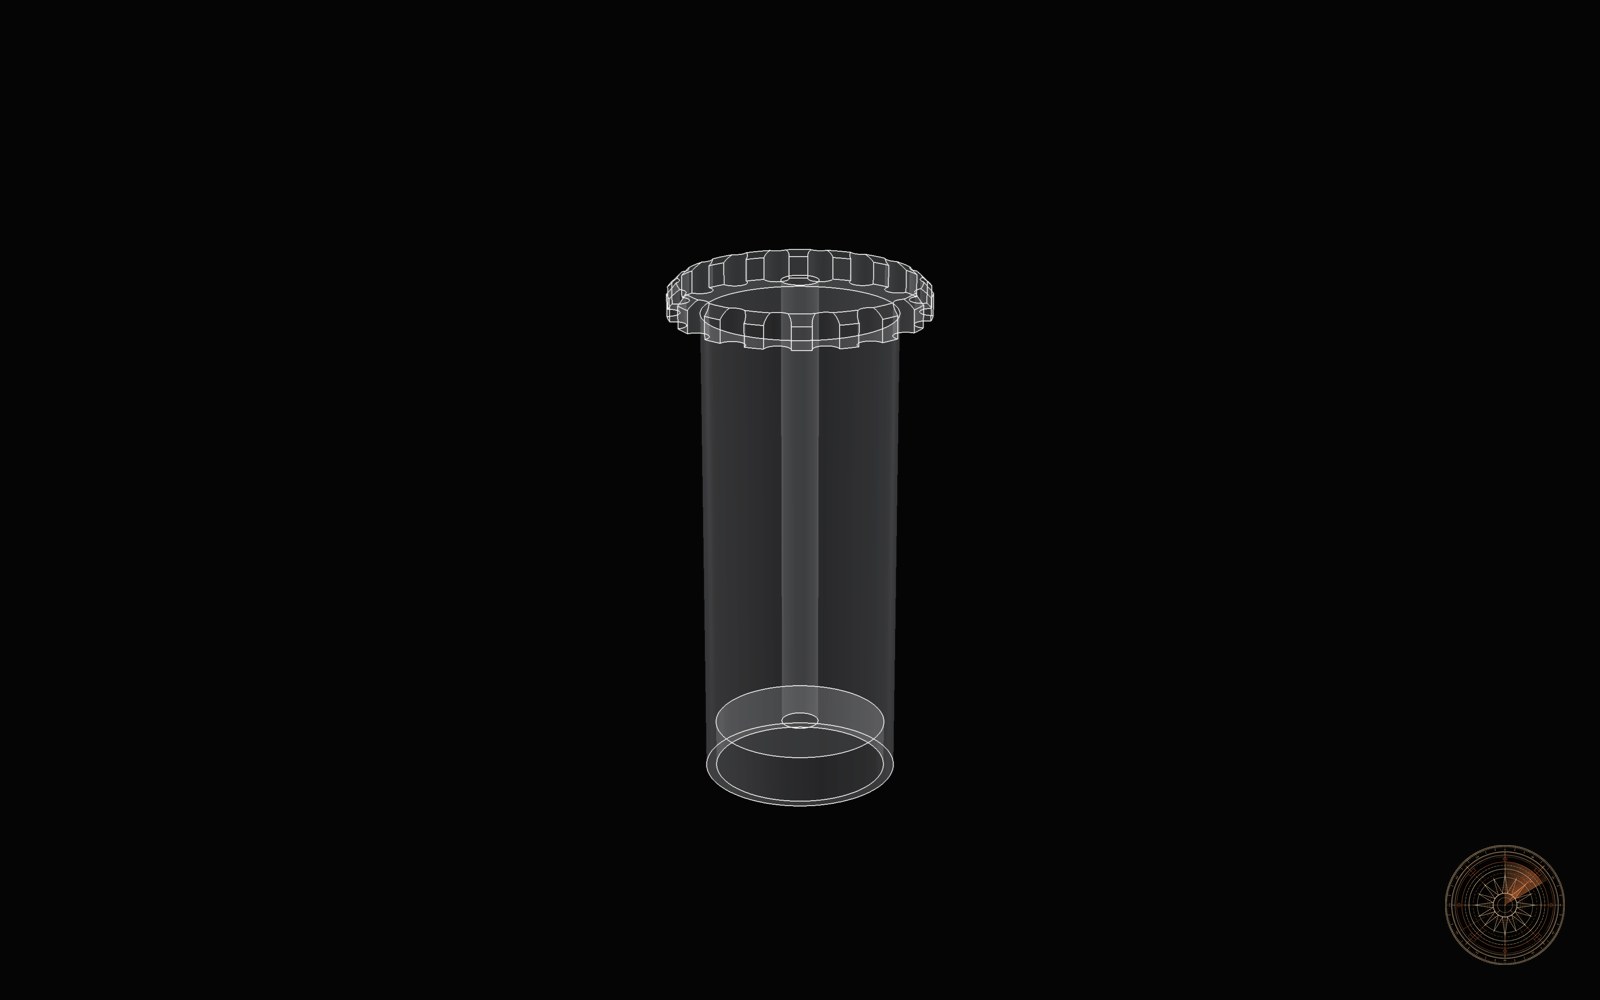
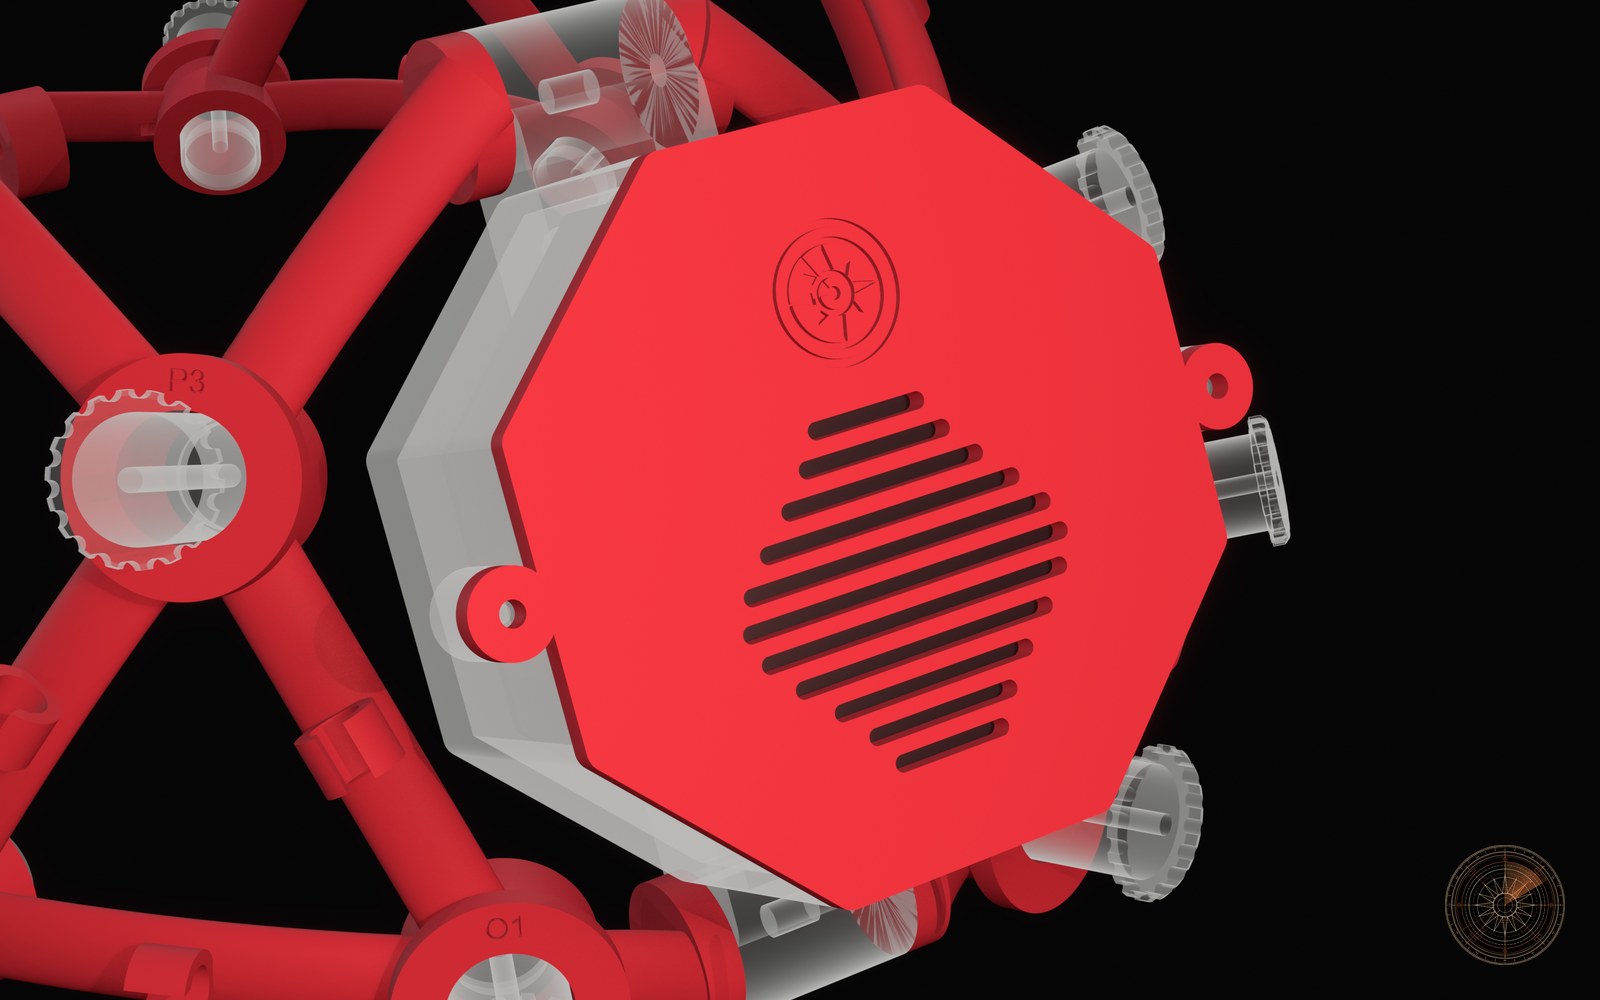
Each position has a hub 15 mm above the scalp. A clear carrier slides in the hub, and the dry comb electrode sits in a 10.7 mm cup at the bottom of the carrier. You push the carrier down until the electrode touches the scalp, then lock it with a screw in the side of the hub. Flat ribs join the hubs along the lines of the 10-20 map, and an open clip on each rib holds the electrode leads on the way to the board. A tab behind each ear takes the elastic strap and holds the lead of the ear-clip electrode.
python build.py. Every size runs the same CAD checks on every build.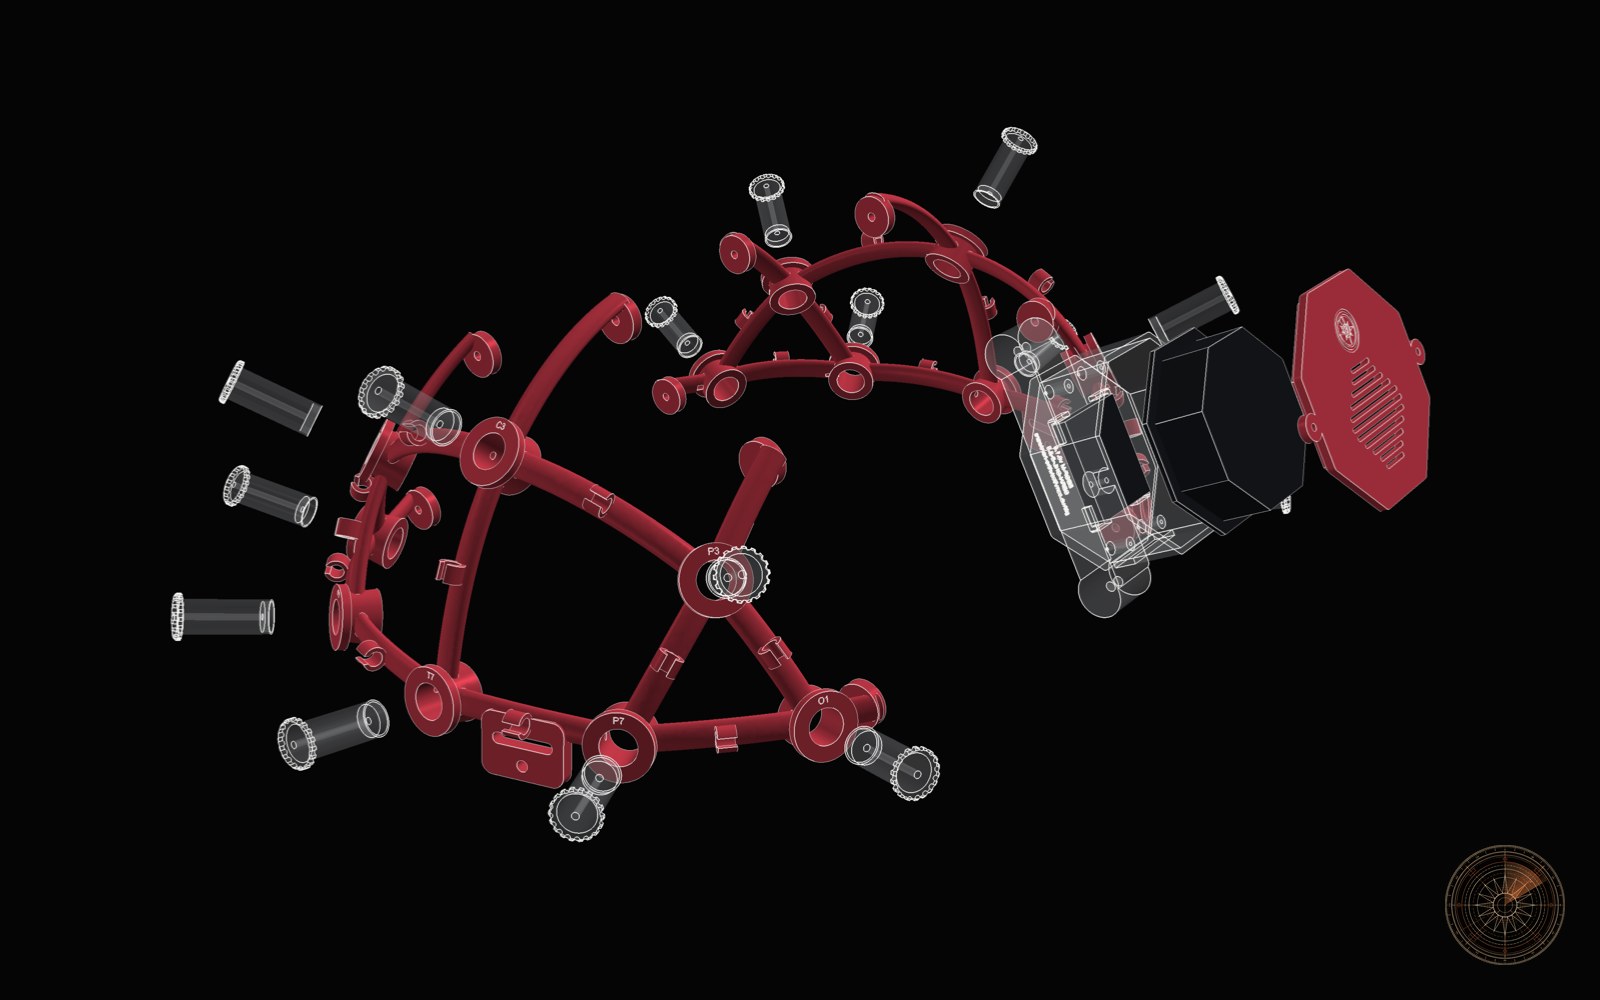
| Check | Result |
|---|---|
| Parts overlap in CAD, all pairs, sizes S, M and L | 0.000 mm3 |
| Frame to scalp on the head model | 3.8 mm or more |
| Carrier length inside the hub at contact | 14 mm |
| Board posts | From the Cyton documentation, “Mount holes are 1/16 ID, 0.8 x 2.166 on center” |
| Electrode cup | From the OpenBCI comb electrode, “bottom diameter 13/32”” |
| Electrode screw size | Not published by OpenBCI. The hole takes 2-56 or M2. Not verified |
| Battery | The bay holds a 1S LiPo pouch cell of 5 x 30 x 35 mm. OpenBCI does not publish the size of the cell in its kit, so measure yours first |
| Space for the Daisy module | 18 mm above the board, an estimate |
| Head model | An ellipsoid, not a scan, with no ears |
| Printed | No |
| Worn on a head | No |
| EEG recorded with this frame | No |
Do not order a print for a project that depends on it until the “Printed” and “Worn on a head” rows say yes. The design README carries the same table and the sources.
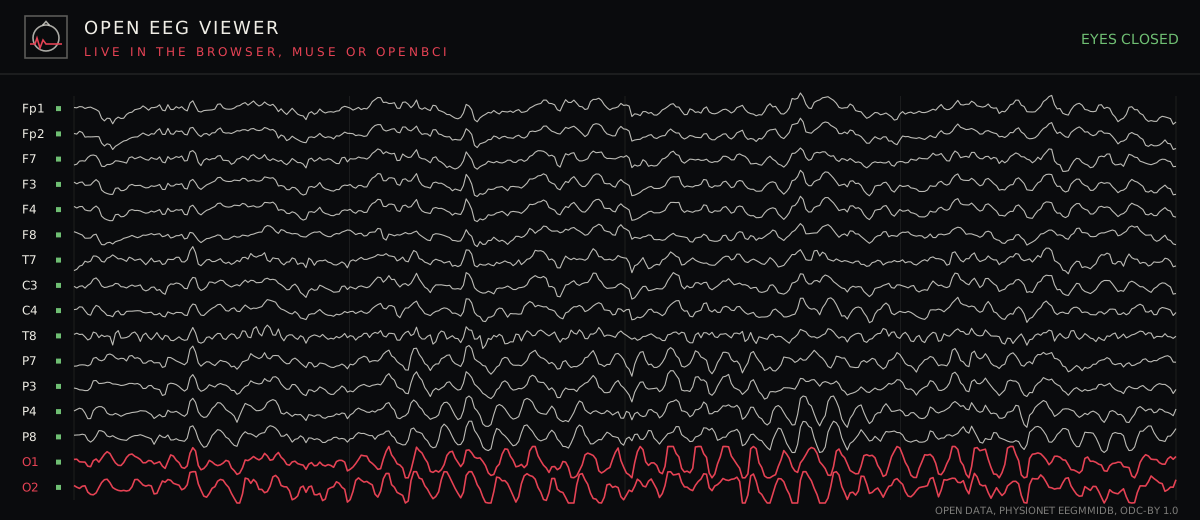
Scalp EEG is one of the main tools of consciousness science, because it measures, from outside the skull, how brain rhythms change between waking, sleep, anaesthesia and coma. The States of Consciousness console on this site plays 154 minutes of open 64 channel EEG from the Purdon propofol protocol and shows how slow waves and alpha rise and fall as consciousness fades and returns. A 16 channel headset records the same kind of signal at home, the alpha rhythm, sleep spindles and the slow waves of deep sleep, so anyone can repeat the simplest of those measurements on their own brain.
Recording is the limit of this frame. It is not a medical device, it does not diagnose or treat anything, and it has no part that sends current into the body. Implanted interfaces read far finer signals, as the speech neuroprosthesis that gave Casey Harrell his voice shows, and scalp EEG cannot do that.
The Ganglion has 4 channels, so it can use 4 of the 16 positions. The pod holds the Cyton outline, which the Ganglion documentation gives with the same outline and hole spacing. This combination is not checked.
The colour is a choice of print material and changes nothing in the shape. A clear pod lets you see the board and its lights. The design uses the same edge radius and Boltzmann vent row as every design in the repository.
No. A printed frame is offered only after a real print is worn and checked. If you want one, the button below counts it.
Every open design of this project is on the hardware page, next to the Tang Nano 9K case. Ready made EEG headbands, boards and recorders from other makers, with sellers and prices, are in the brain kits section.